When it comes to door installation, one of the most important details to consider is door hinge placement. Installing hinges in the correct position ensures your door will operate smoothly, remain level, and avoid unnecessary wear and tear. In this guide, we’ll explore how to measure door hinge placement, avoid common mistakes, and install hinges correctly so your doors function well for years to come.
In addition to practical advice, we’ll also highlight the expert craftsmanship behind Rocky Mountain Hardware’s custom bronze hinges. Our collection includes options for both doors and cabinets, ensuring the perfect fit for every project.
Importance of Correct Door Hinge Placement
Door hinge placement is more than just a detail—it directly affects the operation and longevity of your door. If hinges are incorrectly placed, the door can sag, scrape the floor, or fail to close properly. High-quality door hinges and precise placement will ensure that the door swings freely and aligns perfectly with the door frame.
Common Placement Mistakes
One of the most common mistakes during installation is placing the hinges unevenly or too far from the edge of the door. It’s also easy to miscalculate the hinge height, especially if you’re using multiple hinge sizes for a heavier door. Not measuring the correct distance from the top and bottom of the door can lead to an awkward fit and misalignment. Therefore, taking time to measure carefully is essential.
Tools and Materials Needed
Before starting, having the right tools and materials on hand will make your installation process smoother.
Essential Tools for Hinge Installation
To install door hinges, you will need a few basic tools:
- Tape measure – For accurate measurements.
- Pencil – To mark hinge positions.
- Chisel – To cut hinge mortises.
- Screwdriver or drill – For securing hinges.
- Utility knife – To fine-tune cuts.
Choosing the Right Hinges
Selecting the correct type of hinge depends on the interior door you’re working with. For example, butt hinges are most common for residential doors, offering a sturdy connection that allows the door to open and close smoothly. For heavier or specialty doors, you may need larger hinge leaves or stronger materials like bronze. Always ensure the hinge size matches the door’s dimensions and weight.
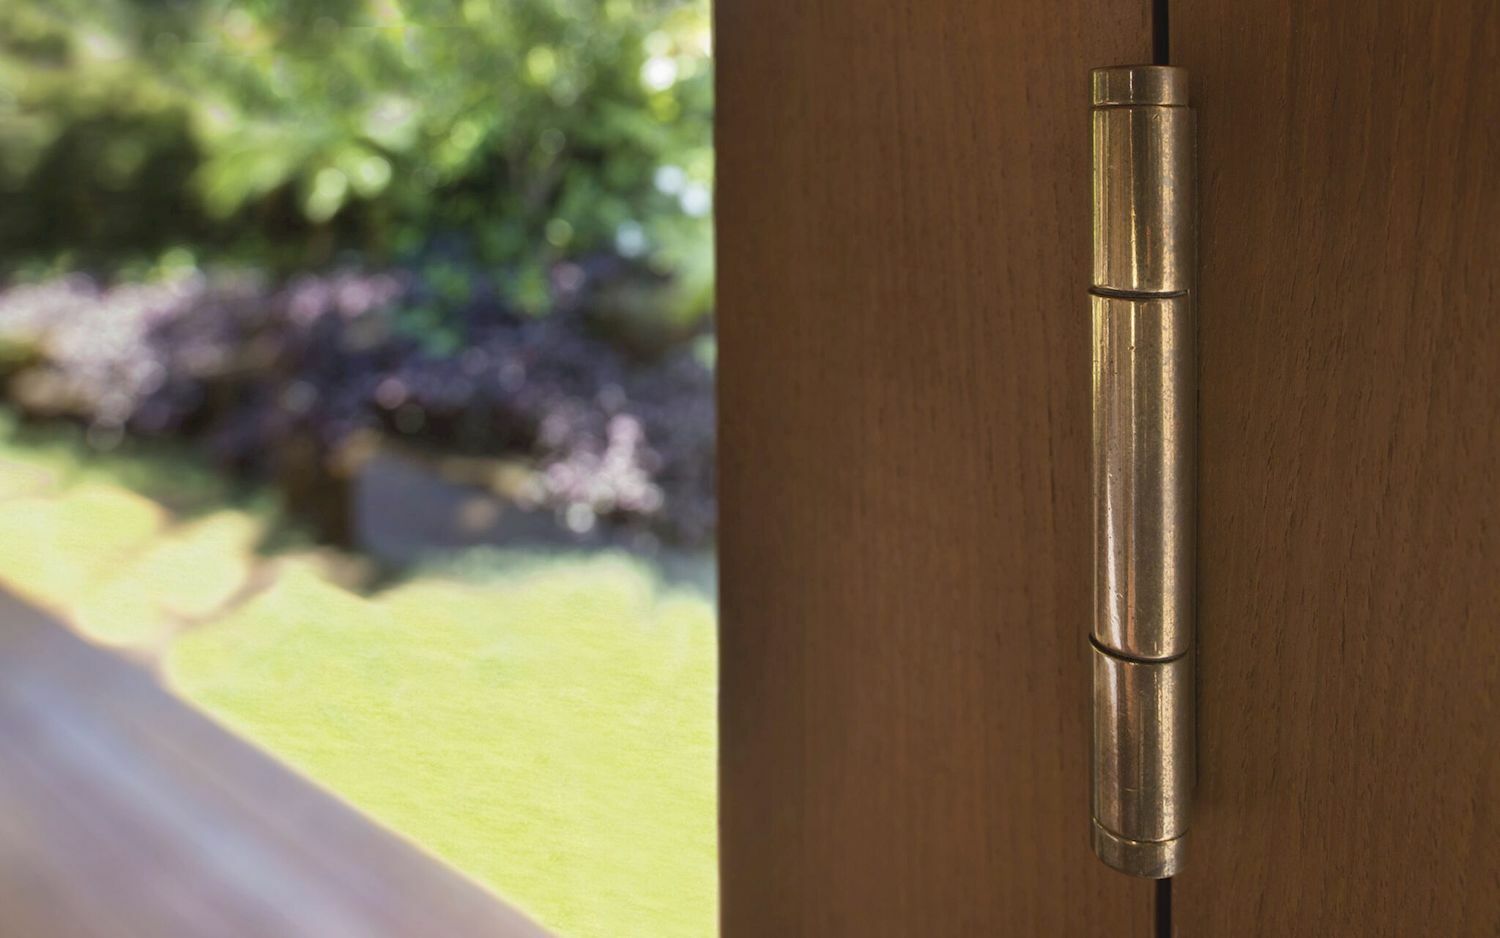
At Rocky Mountain Hardware, we provide a range of custom bronze hinges for both doors and cabinets, designed to deliver both durability and timeless beauty. Our Concealed Bearing Butt Hinge is ideal for interior and exterior doors, offering strength and smooth operation. For projects requiring a different look or function, we also offer the Paumelle Hinge, which features a more streamlined design.


Step-by-Step Guide to Installing Door Hinges
Follow these steps to ensure precise placement and a smooth installation of your hinges.
Measuring and Marking Hinge Positions
Start by measuring the distance from the top of the door to where the first hinge will be placed. Typically, you should locate the top hinge about 5 inches from the top and the bottom hinge approximately 10 inches from the bottom. You can position a third hinge equally between the top and bottom hinges. Use a tape measure to ensure accuracy, and mark the positions with a pencil on both the door and the door frame.
Cutting Hinge Mortises
Once marked, use a chisel to cut out the hinge mortises. These recesses allow the hinge leaves to sit flush with the edge of the door and the frame. Carefully chisel the area to match the size and depth of the hinges you’re using. Make sure to keep the edges clean and precise to avoid issues when you attach the hinges.
Securing Hinges and Testing Door Fit
With the mortises cut, place the hinges in their designated spots and secure them with screws. Once installed, check that the door opens and closes freely. Adjustments may be needed to ensure everything is aligned correctly. The goal is to make sure the door swings without resistance and stays properly aligned with the door frame.
Tips for Replacing Old Door Hinges
If you’re updating or replacing older hinges, some additional considerations are necessary.
Assessing and Removing Existing Hinges
Before installing new hinges, assess the condition of your existing hardware. Sometimes, it’s as simple as tightening screws, but more often than not, you’ll need to remove the old hinges entirely. Carefully unscrew the hinges and lift the door off the frame.
Installing Replacement Hinges
When installing new hinges, make sure the size and type of hinge are consistent with what was originally used. Measure and check that the new hinges align with the old mortises or make adjustments as needed. Once installed, test the door’s movement to ensure it opens and closes smoothly.
For custom cabinet hinges, Rocky Mountain Hardware offers beautifully designed cabinet hinges that are just as functional as they are elegant. These hinges can give your cabinets the perfect finishing touch while ensuring they operate flawlessly.
Special Considerations for Different Door Types
Different doors may require varying approaches to hinge placement. For interior doors, standard butt hinges work well, while heavier exterior doors or custom doors may need more substantial hinges, such as ball-bearing or continuous hinges. French doors, barn doors, and bifold doors each have specific hardware requirements that should be factored into the hinge selection and placement process. Be sure to research your specific door type to determine the best approach.
Rocky Mountain Hardware Craftsmanship And Quality
At Rocky Mountain Hardware, our expertise in crafting custom bronze hardware spans over two decades. Since 1994, we have been dedicated to producing extraordinary hardware that combines Old World craftsmanship with modern precision. Every piece of our hardware, including our door hinges, is handcrafted and goes through a 20+ step process, ensuring that each product meets the highest standards of quality.
We use only the finest art-grade bronze, and our LEED® Gold Certified facility emphasizes our commitment to sustainability. With Rocky Mountain Hardware, you’re not only choosing functionality but also investing in the timeless beauty and durability of custom bronze. Explore our full range of handcrafted door hinges, including options that will suit any architectural style or functional need.
Achieving the Perfect Door Hinge Placement
The proper placement of door hinges is crucial to a door’s functionality and longevity. Whether you’re installing hinges on a brand-new door or replacing old hardware, precise measurements, and proper technique will ensure a successful project.
Find a Dealer